
The title of this page really does make sense. I’m going to show you how I made my very first reduction linocut – a technique which Picasso called suicide printing. Here’s why: every time you print a new colour on top of the last colour, you carve more of your lino block away. So once you start on a suicide print, you can never go back. If you mess up, you’ve had it. Click through the images to see how it all worked out for me.
-
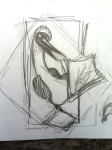
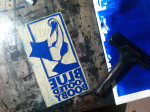
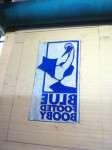
- My initial sketch. A blue-footed booby which I’ve been promising to the children for ages.
-
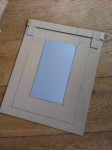
- I cut some cardboard to the shape of my lino, and add corners for putting my paper. This will keep everything registered (in the same place each time).
-
- The drawing transferred, in reverse, onto the lino.
-
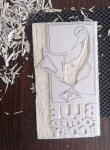
- I carve out all the areas that I want to keep white.
-
- The cardboard is glued to my etching press bed.
-
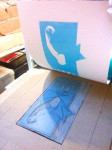
- The lino gets its first colour rolled on and sits happily in its special hole.
-
- It’s all rolled through the press and the first print is looking good!
-
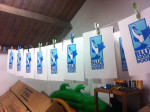
- I’m making an edition of 12 so I start with 25 to allow for plenty of mistakes.
-
- The areas I want to keep pale blue now get carved out. No going back now.
-
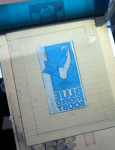
- Now I roll on the darker blue.
-
- …back into the press.
-
- Amazing! I got 25 well-registered prints at 2nd colour stage!
-
- Now to carve out all areas that will remain deep blue.
-
- Ready for its third and final round in the press.
-
- Inked up with black.
-

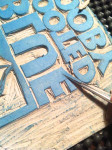
- Oops. Now I have problems with registration: the black is out of alignment.
-

- I also have some warping and creasing of the paper. I think this is also what caused the registration to slip. Next time I will put some card above the paper to avoid both problems, and decrease the pressure in the press.
-
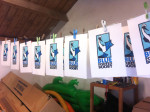
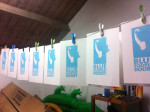
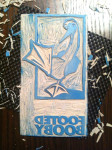
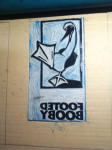
- But thank goodness, I just manage to scrape 12 good prints!
-

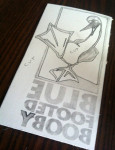
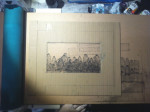
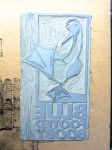
- Here it is: the Blue Footed Booby in all its glory!
-

- That took till midnight. Happy Catriona.
NB since making this How To, I have found a fool-proof method of registration which means that the colours will line up perfectly every time. See how I did it here.
